How to Add Animated Subtitles With an Auto Caption Generator
· 7 min read
The fastest way to add animated subtitles is to run your video or script through an auto caption generator, pick an animated caption style (word-by-word highlight, pop-in, or karaoke), fix any misheard words in the transcript, then export with the captions burned into the video. My recommended option is Cliptalk, because it generates the captions as part of building the whole short. The voiceover, B-roll, and animated subtitles are timed together from your script, so you are not captioning a finished video as a separate job afterward.
That is the short answer. The rest of this guide covers how animated captions work, the exact steps, how the main tools compare, and the styling choices that decide whether people actually read your captions.
What Makes a Subtitle "Animated"
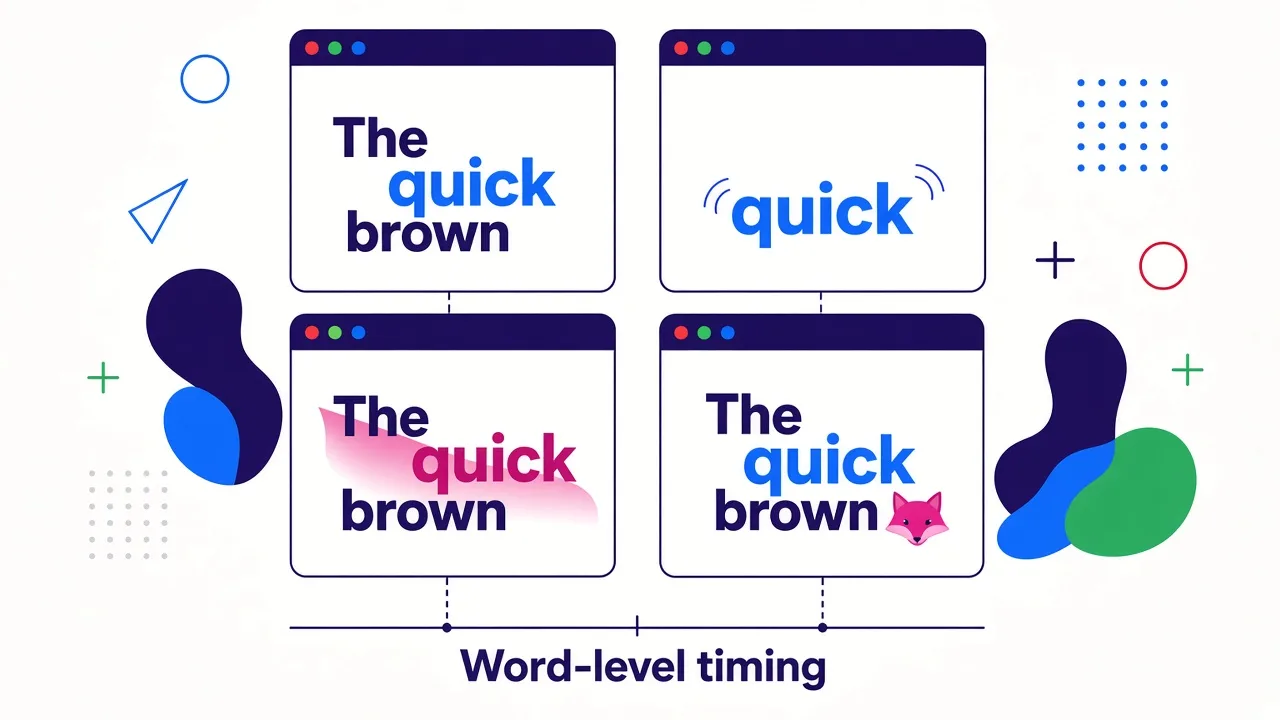
A standard subtitle is a static block of text that appears and disappears with each line of dialogue. An animated subtitle moves with the speech. The most common styles are:
- Word-by-word highlight: the full phrase sits on screen and each word changes color as it is spoken.
- Pop-in: words appear one or two at a time, often with a small scale or bounce effect.
- Karaoke fill: a color sweeps across the text in sync with the voice.
- Emphasis styling: key words get a different color, a larger size, or an emoji.
All of these depend on one thing: accurate word-level timing. An auto caption generator uses speech recognition to work out when each word starts and ends. The animation is then applied on top of that timing. If the timing is off, the animation exposes it immediately, which is why the transcript review step matters more for animated captions than for plain ones.
Step-by-Step: Adding Animated Subtitles With an Auto Caption Generator
The workflow is almost identical across tools. Here is the version I use.
- Start with clean audio. Speech recognition struggles with music under the voice, crosstalk, and room echo. If you control the audio, keep background music low during speech.
- Upload your video or paste your script. Caption-only tools need a finished video. Script-based generators can build captions directly from your text.
- Generate the captions. The tool transcribes the speech and splits it into short lines with timing for each word.
- Review the transcript. Read it once from top to bottom. Fix names, brand terms, numbers, and slang. These are where speech recognition fails most often.
- Choose an animation style. Pick a preset first, then adjust font, color, size, and position.
- Set the line length. For vertical video, two to four words per line is the sweet spot. Long lines force viewers to read instead of watch.
- Position the captions. Keep them in the lower middle third of the frame, above where TikTok, Reels, and Shorts place usernames and buttons.
- Export with captions burned in. Social platforms autoplay on mute, so the captions need to be part of the video file, not a separate track.
How I Add Animated Subtitles in Cliptalk
Most of my short-form work starts from a script rather than footage, so I want captions that come out of the same process that makes the video. That is where this workflow differs from bolt-on caption tools.
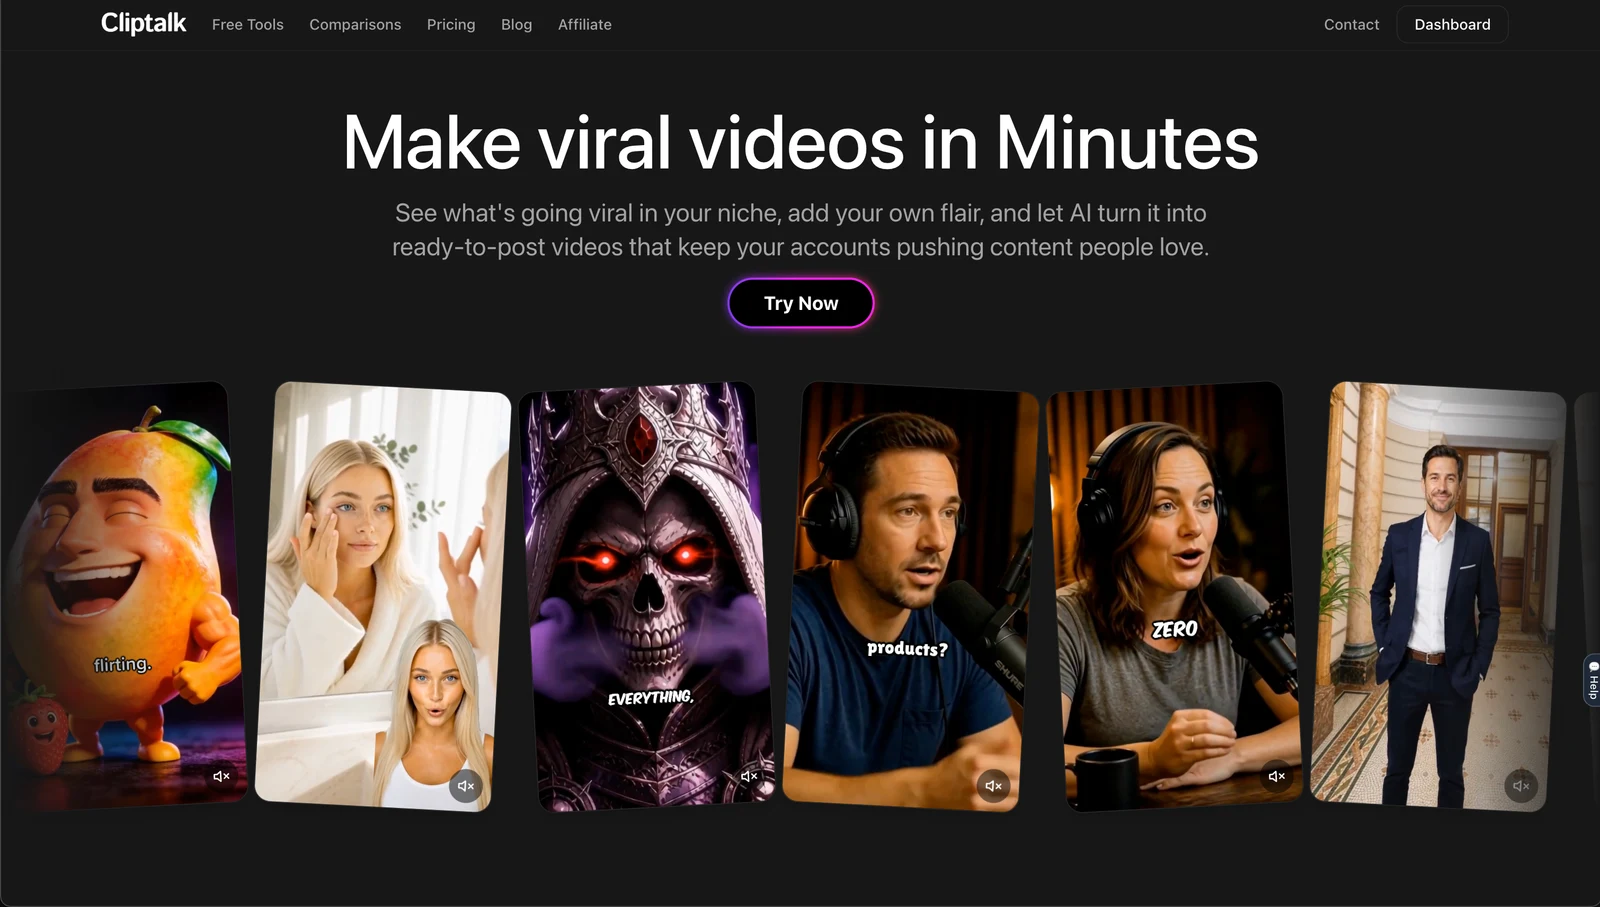
My process looks like this:
- Paste the script or article. The tool keeps my wording rather than rewriting it, which matters because the captions are only as good as the words behind them. I wrote more about that in this piece on script to video AI that keeps your original wording.
- Choose a voice. Either an AI voiceover or my own cloned voice. The captions are synced to that audio automatically.
- Pick a caption style. Word-by-word highlighting is my default for faceless channels, since the moving text replaces the movement a face would normally provide.
- Adjust in the editor. I tweak font size, swap colors to match the channel, and check that captions do not collide with B-roll text.
- Export the vertical video ready for TikTok, Shorts, or Reels.
Because the voiceover is generated from the script, the transcript is already correct before any timing happens. That removes the most tedious step in the whole process: correcting misheard words. When I do upload my own recorded footage, I still review the transcript, but the styling and export steps stay the same.
If you are deciding whether a free tool is enough before committing, I broke down the trade-offs in what free AI shorts generators can and can't do.
Doing It in a Desktop Editor Instead
If you already edit long-form or client work in a desktop editor, you can produce animated subtitles there too. It takes more manual setup, but you get frame-level control. This walkthrough shows the process in Vegas Pro:
The key part, where the automatic subtitles are generated and then animated, starts here:
The desktop route makes sense when you need captions on footage you are already cutting by hand. For high-volume short-form publishing, it is slow, because every style change and every video repeats the same manual steps.
Comparing Auto Caption Generators for Animated Subtitles
Here is how the tools I have used or tested stack up for this specific job. I am ranking for short-form animated captions, not general editing.
| Tool | Best for | Animated caption styles | Free tier notes |
|---|---|---|---|
| Cliptalk | Script-to-video shorts with captions, voiceover, and B-roll in one pass | Yes | Free tools exist with limits |
| Submagic | Adding animated captions to existing short-form clips | Yes, its main focus | Paid |
| CapCut | Free all-in-one editing plus captions | Yes | Free |
| VEED | Polished browser editing | Yes | Free exports carry a watermark |
| Kapwing | Team collaboration | Yes | Free exports carry a watermark |
| Vegas Pro | Desktop editing with full manual control | Yes, with manual setup | Paid software |
My honest take: if you already have finished clips and only need captions on them, a caption-focused tool like Submagic or a free editor like CapCut does the job. If you are building shorts from scripts, articles, or prompts, a generator that handles the whole video saves far more time than one that only captions.
Language coverage varies widely too. Among caption tools, published claims range from 99 languages to more than 175 for translation. If you publish in multiple languages, check that list before committing.
Style Tips That Keep Animated Captions Readable
Animation is meant to hold attention, not compete for it. These are the rules I follow on every video:
- One highlight color. Use white text with a single accent color for the active word. Rainbow captions look busy and slow down reading.
- Thick stroke or shadow. A dark outline keeps text legible over bright B-roll. This matters more than font choice.
- Bold sans-serif fonts. Thin or decorative fonts break down at phone size.
- Short lines. Two to four words per line for vertical video. Never let a caption wrap to three lines.
- Keep the motion subtle. A slight scale-up on the active word works. Spinning or sliding text tires viewers quickly.
- Emphasize sparingly. Color or enlarge one key word per sentence at most. If everything is emphasized, nothing is.
- Check the safe zone. Preview on a phone. Platform UI covers the bottom and right edges, so captions placed there get hidden.
Burned-In Captions vs. Caption Files
Auto caption generators usually offer two export types, and they serve different purposes:
- Burned-in (open) captions are part of the video image. They cannot be turned off, and they are the only way to show animated styles. Use these for TikTok, Reels, and Shorts.
- Caption files (SRT or VTT) are separate text tracks the viewer can toggle. They cannot carry animation, but they are useful for YouTube long-form uploads, course platforms, and accessibility settings.
For animated subtitles, you need the burned-in export. If you also upload a long-form version to YouTube, exporting an SRT alongside it is a good habit, since the platform can use the text for search and accessibility.
Common Mistakes to Avoid
- Skipping the transcript review. One wrong word in a highlighted caption is far more noticeable than a typo in plain subtitles.
- Captioning over on-screen text. If your B-roll or graphics contain text, move the captions or the graphic so they do not overlap.
- Using the same style everywhere. A finance explainer and a comedy clip should not share the same bouncing, emoji-heavy preset.
- Ignoring music levels. Loud background tracks hurt transcription accuracy and make the voice harder to follow even with captions.
- Exporting the wrong aspect ratio. Captions styled for 16:9 often end up too small or badly placed when cropped to 9:16.
The Bottom Line
Adding animated subtitles comes down to three things: accurate timing from a good auto caption generator, a quick transcript check, and restrained styling that stays readable on a phone. Caption-only tools work well when you already have finished footage. When you are creating shorts from scratch, generating the captions together with the voiceover and visuals is the faster route, and that is why I build my videos in Cliptalk.
Tags: animated subtitles, auto captions, short-form video, video editing, faceless channels