How to Edit YouTube Videos With an AI Editor
· 13 min read
The short answer to "what is the best AI video editor for YouTube" depends on what you are actually editing. If you are turning a script, an article, or an idea into a finished video, I use Cliptalk because it skips the timeline entirely: you paste the text, and it returns a cut video with burned-in captions, matched B-roll, and an AI voiceover ready to upload. If instead you have 40 minutes of raw talking-head footage that needs tightening, you want a text-based cleanup editor like Gling or Vizard, which delete silences, filler words, and bad takes from a transcript. Below is the exact workflow I run, step by step, plus an honest comparison of which tool handles which job.
I have put a lot of hours into these tools across both long-form and Shorts, and the single biggest realisation is that "AI video editing" is two different products sold under one name. Get that distinction right and the rest of this is mechanical.
First, decide which kind of AI editor you need
There are three categories, and mixing them up is why people feel let down after their first render.
Cleanup editors. You upload raw footage, the AI transcribes it, then removes dead air, filler words, and the takes you would never publish. Gling markets exactly this, and it exports either a finished MP4 with an SRT caption file or a project you can finish in Premiere Pro, Final Cut Pro, or DaVinci Resolve. Vizard does the same thing with a prompt layer on top: you ask for an edit in a sentence and it makes the cut. These tools do not create footage. They subtract.
Generative editors. You give text, the tool builds the video: scenes, voiceover, captions, visuals. Cliptalk, invideo, and Renderforest all sit here. Renderforest, for example, generates scenes from a prompt and then lets you swap visuals and transitions scene by scene. These tools do not clean up your face-cam footage. They add.
Traditional editors with AI bolted on. Premiere Pro now has a generative taskbar directly in the timeline, so you can fill a gap with a generated clip without leaving the project. In Adobe's own demo the model sampled nearby clips for context and matched the colour grade of the surrounding desert footage, which is genuinely useful for plugging a hole in a sequence. There is also Generate Sound Effects, plus Generate Soundscape and Generate Music in beta. Useful, but you still need to know how to edit.
If you are a faceless channel, a marketer, or anyone publishing more than two videos a week, the generative category will save you far more time than the cleanup category. If you film yourself talking for 20 minutes at a stretch, the cleanup category is your friend.
This breakdown of the current landscape is worth the watch before you commit to a subscription:
Step 1: Lock the script before you open any editor
Every bad AI edit I have made started with a weak script. The AI cannot fix structure. If your hook is slow, the AI will faithfully render a slow hook with beautiful captions on top.
What I do: write or generate the spoken script word for word, including the hook, the three or four beats of the body, and the call to action. Word for word matters, because in a generative workflow your script is also your timing, your caption text, and your B-roll brief. One sentence becomes roughly one scene, so the way you break your sentences determines the pace of the cut.
For this I usually run the idea through a YouTube script generator first, get three or four title options alongside the script, then edit the result down by about 20 percent. AI drafts are almost always too wordy for spoken delivery. Read it out loud with a timer. For Shorts, 150 to 170 words is roughly a 60-second video at a natural pace.
A practical rule for the hook: the first sentence should contain either a number, a contradiction, or a promise. "Three things I got wrong" works. "Today I want to talk about" does not.
Step 2: Set format and aspect ratio before you render, not after
This sounds trivial and it costs people hours. Decide up front whether this is a 16:9 long-form video, a 9:16 Short, or both. Reframing after the fact works, but text overlays, lower thirds, and captions all get re-laid out, and you will be re-checking every scene.
If you want both from one recording, do it deliberately. Vizard's pitch is exactly this: give it the long video, ask for Shorts, and it picks the moments, cuts each one so it still makes sense standalone, burns in captions, and reframes to 9:16. That is the right approach for a long-form channel with a Shorts arm. For a Shorts-first or faceless channel, build 9:16 natively and don't pretend you will crop your way there.
Step 3: Let AI make the first cut
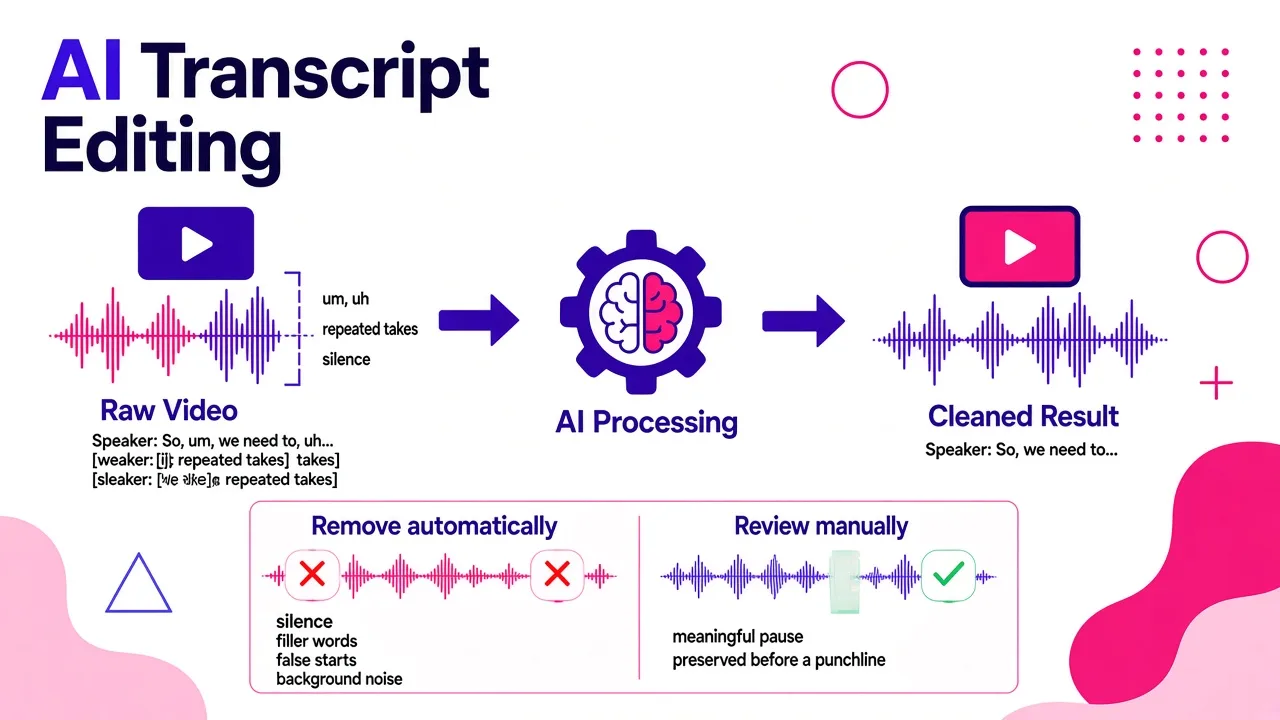
For raw footage, this is the step with the highest return. Transcribe, then edit the transcript. Delete a sentence from the text and it disappears from the video. Once you have worked this way for a week, scrubbing a timeline for a flubbed line feels like filing paperwork by hand.
What to let the AI remove automatically:
- Silences longer than roughly half a second
- Filler words (um, uh, like, you know)
- False starts and repeated takes
- Background noise and room hum
What to review manually: pauses that carry meaning. Automatic silence removal is aggressive by default and will flatten the beat you deliberately left before a punchline. I always re-insert two or three pauses per video. Gling's own customer quotes come from creators with 1.5M to 2.2M subscribers, and the theme is consistent: they use it to kill the tedious cutting, not to make creative decisions.
For generative workflows there is no "first cut" to make, because the tool assembles scene by scene from the script. Your review job changes from cutting to approving.
Step 4: Captions, because they are doing more work than you think
Burned-in captions are the single highest-leverage edit on YouTube, for three reasons: a large share of mobile viewing happens muted, captions hold the eye during low-motion stretches, and YouTube indexes caption text, which makes the video easier to surface in search. Vizard makes the search point explicitly, and it matches what I see in my own retention graphs: captioned versions of the same cut hold attention noticeably better in the first 10 seconds.
How I style them:
- One to four words per on-screen chunk for Shorts, full sentences for long-form
- Positioned in the middle third, well above the platform UI, which eats the bottom 15 percent or so
- Heavy weight font with a stroke or shadow so it survives busy B-roll
- Colour emphasis on one keyword per line, not every line
Accuracy still needs a human pass. Modern auto-captioning is in the high 90s for clean audio, but it reliably mangles brand names, acronyms, and numbers. Those are exactly the words viewers screenshot. Scan the caption track for proper nouns before you export.
Step 5: Fill gaps with B-roll instead of reshooting
A talking head with no visual change loses people. The traditional fix is shooting cutaways, which doubles your production time. The AI fix is matching visuals to the script automatically.
This is where a generative editor earns its keep. The tool reads each line of the script, decides what the viewer should be looking at, and places a clip or image there. Stock libraries are enormous now (invideo advertises over 16 million stock media items), and generated footage covers the shots stock never has.
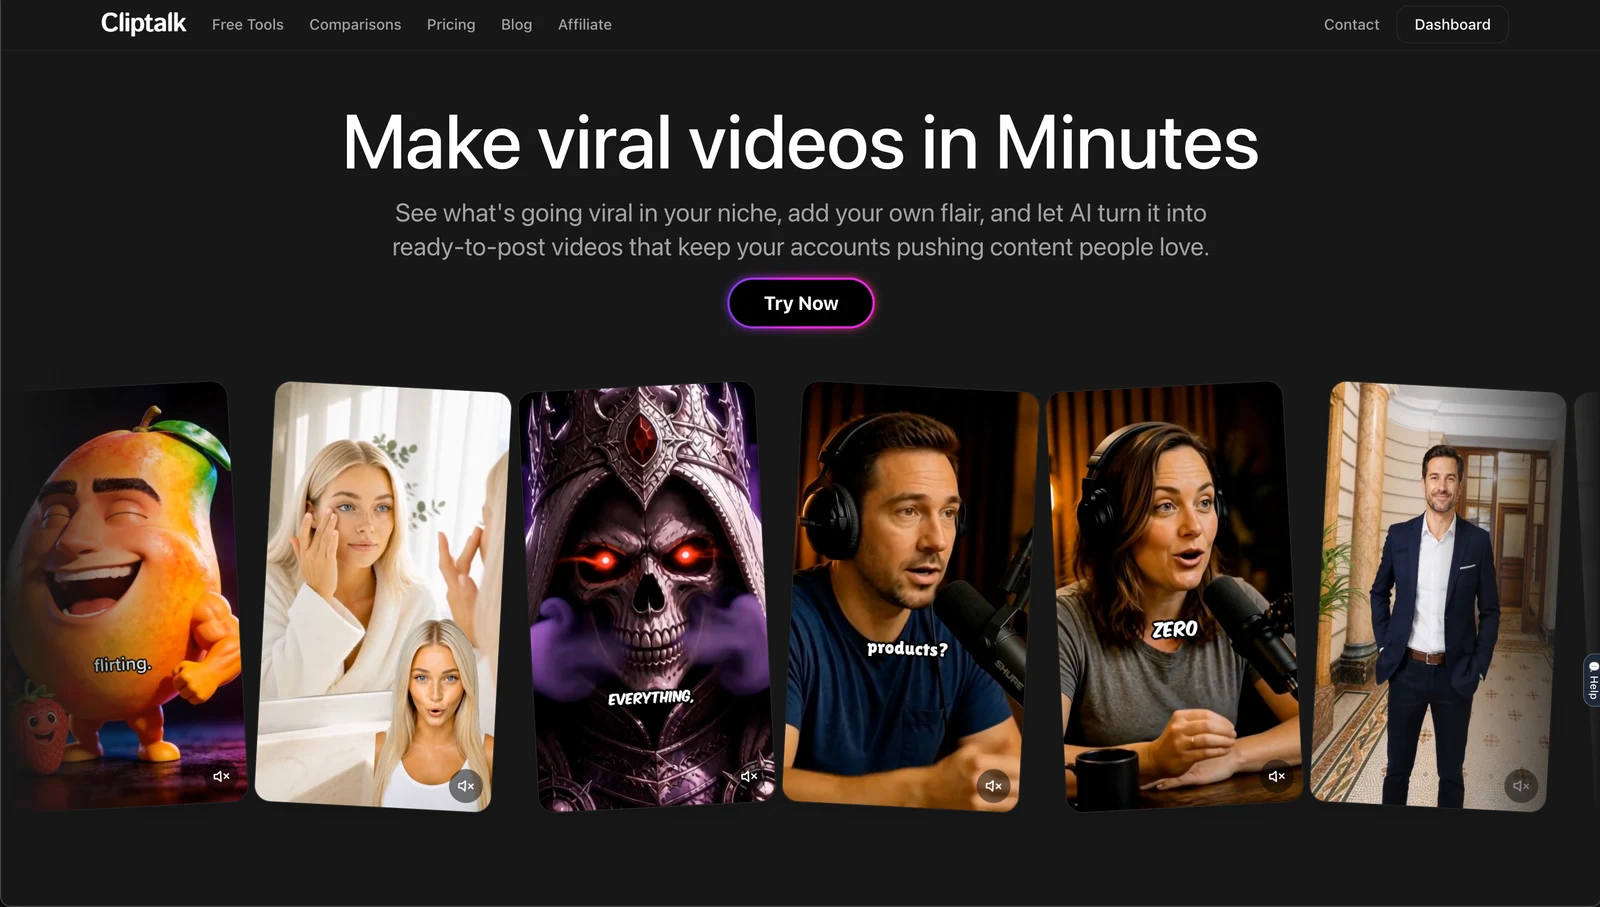
In Cliptalk this happens as part of the render rather than as a separate hunt through a media library: the script becomes scenes, each scene gets a B-roll clip, captions get burned in, and the voiceover is timed to the cut. Then I go back and swap the three or four visuals that are too generic. That ratio matters: in my experience roughly 70 to 80 percent of auto-selected B-roll is fine, and the rest needs a human who knows what the sentence actually means.
Two tips that make auto B-roll look intentional:
- Write visual nouns into the script. "The price chart dropped" gets you a chart. "It went badly" gets you a stock person frowning in an office.
- Vary the shot length. If every scene is the same duration, the video develops a tick. Break the rhythm every fourth or fifth scene.
For more advanced work, object-level editing is now real: Runway's Edit Studio can swap a product for a different variant or colourway, or change a background to a different location, in existing footage. That is a product-marketing superpower, though it is a specialist tool rather than a YouTube editing workflow.
Step 6: Voice, cloned or generated
You have three options and they are not interchangeable.
Record yourself. Still the best for trust-based niches. Pair it with a cleanup editor.
Clone your voice. The sweet spot for creators who want consistency without recording every day. You read a sample once, then type scripts forever. The catch is that cloned voices inherit your pacing habits, so if you read your sample flatly, every video will be flat.
Use a stock AI voice. Fine for faceless and informational channels. Voices now come in a range of ages, genders, and accents. Pick one and stay with it; voice is a bigger part of channel identity than most people realise, and swapping it mid-catalogue reads as a different channel.
Whichever you choose, listen to the full export once at normal speed. AI voices mispronounce numbers, dates, and anything with an unusual capitalisation pattern. Writing "twenty twenty six" instead of "2026" in the script fixes most of it.
Step 7: Add an on-screen presence if you have no face to film
If you do not want to appear on camera but a human presence would help, AI characters are the middle path: a consistent presenter who delivers the script with lip sync, over your B-roll and captions. I use this for explainer and product content where a disembodied voice feels cold.
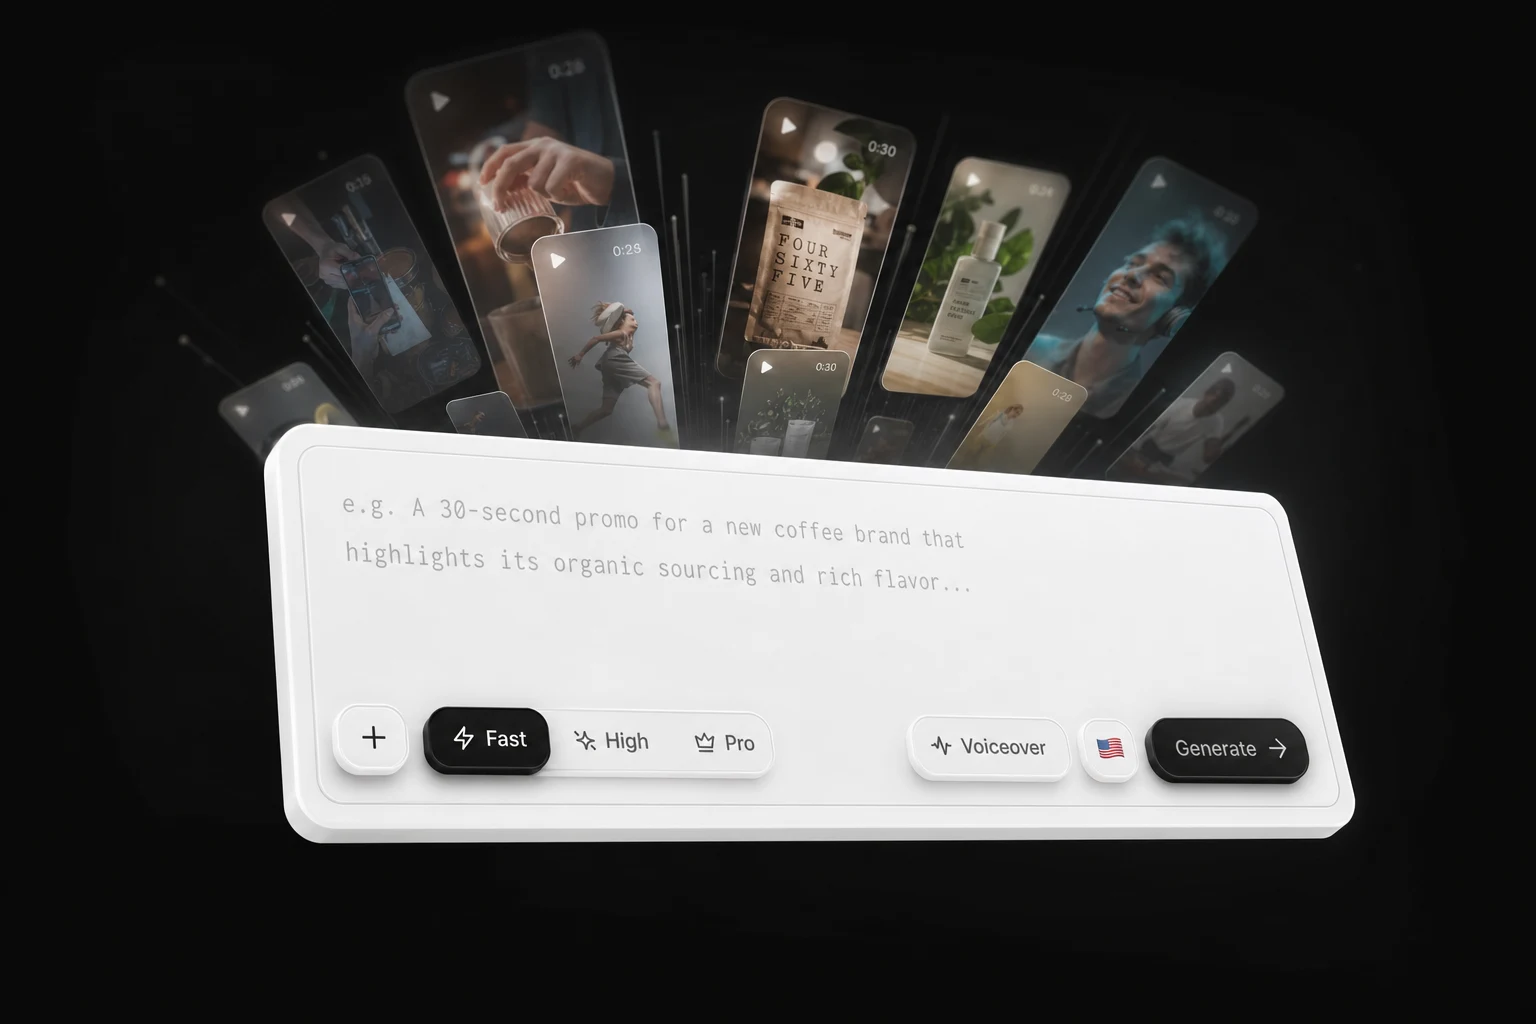
Two honest caveats from using them heavily. First, keep character shots short, 3 to 6 seconds at a time, cut back to B-roll, then return. Long unbroken character takes draw attention to the artefacts. Second, pick one character and reuse it. A channel with a different presenter every week has no face at all.
Step 8: The human pass (my actual checklist)
AI gets you to 85 percent. The last 15 percent is what separates a video that looks made from one that looks generated. Before I export, I run this:
- Watch the first 5 seconds three times. If the hook does not land, nothing else matters.
- Check every caption chunk for misspelled names, numbers, and acronyms.
- Replace any B-roll clip that is "a person at a laptop" unless the line is literally about a person at a laptop.
- Confirm audio levels: voice dominant, music roughly 15 to 20 dB under it, no clipping.
- Verify the aspect ratio and that no text sits in the bottom 15 percent or the top right.
- Make sure the CTA is spoken and on screen, not just on screen.
- Watch it muted all the way through. If it still makes sense, you are done.
Here is a longer walkthrough of an AI-assisted edit in practice, which is useful if you prefer seeing the sequence rather than reading it:
Step 9: Thumbnail and title are part of the edit
Treating the thumbnail as an afterthought is the most common unforced error I see. The edit decides whether people stay; the thumbnail and title decide whether anyone arrives. Most AI editors now generate titles, descriptions, and tags from the transcript, and some generate chapters, which is worth taking because YouTube uses them.
For thumbnails I design a frame that is not a frame from the video: large readable subject, three to four words of text maximum, and strong contrast at small sizes. Open it on your phone at feed size before you commit. If you want to move fast, a browser-based YouTube thumbnail generator will design one from a description of the video, and you can iterate on five variants in the time it takes to open a design app.
AI video editors for YouTube compared
Ranked by how useful each one is for the specific job of publishing to YouTube regularly. No tool here does everything well.
| Tool | Best for | What the AI actually does | The catch |
|---|---|---|---|
| Cliptalk | Script, article, or prompt to finished video; Shorts and faceless channels | Auto-edits scenes, adds captions, B-roll, AI voiceover, voice cloning, AI characters | Built for short-form first, not for cleaning up long raw talking-head footage |
| Gling | Cleaning up raw long-form recordings | Cuts bad takes, silences, filler words; captions, auto zoom, noise removal, titles and chapters | Subtractive only; it will not create visuals for you |
| Vizard | Long video into multiple Shorts | Text-based editing, prompt-driven cuts, auto captions, 9:16 reframing, title/description/tags | Needs existing footage as input |
| invideo | Prompt-based editing with huge stock access | Generates scripts, voiceovers, scenes; text-command edits; translation into many languages | Output can look template-y without manual work |
| VEED | Subtitles and brand-consistent social video | Subtitles, brand kit application, noise reduction, eye contact correction | More of a polish layer than a full first-cut engine |
| CapCut | Fast manual edits for Shorts | Strong AI assist toolset on a mobile-friendly editor | Lighter on professional timeline features |
| Premiere Pro | Professional long-form and anything complex | Auto transcribe and subtitles, text-based editing, generative video and sound inside the timeline | Subscription only, overkill for beginners, 7-day trial |
| DaVinci Resolve | Pro-grade work with no subscription | Strong colour and audio tooling; less text-to-video automation | Steep learning curve |
| YouTube Create | Free mobile editing with native upload | One-tap auto captions, audio clean up, beat matching, 40+ transitions | Mobile and still in beta; limited for complex projects |
| Renderforest | Prompt to scene-based templated video | Generates initial scenes from a prompt, then scene-level editing | 720p export on the standard path |
If you want a narrower list focused purely on vertical output, I compared the vertical-first options in more detail in 7 Best AI Video Generators for YouTube Shorts.
Mistakes that cost people the most time
Editing before the script is final. Every script change after the render means re-timing captions, B-roll, and voiceover. Lock text first. Always.
Trusting the auto-cut blindly. Silence removal will eat your comedic timing and your emphasis pauses. Budget five minutes to put a few back.
Using every AI feature available. Zooms, transitions, effects, and emoji overlays on the same video read as noise. Pick two visual devices and use them consistently.
Ignoring the muted pass. Most of your audience will see the video before they hear it.
Rendering at the wrong aspect ratio. Check this before the render, not after.
How long this actually takes
Honest numbers from my own workflow, for a 60 to 90 second Short:
- Idea and script, including editing it down: 10 to 15 minutes
- Render: 2 to 5 minutes
- Human pass, swapping B-roll and fixing captions: 10 minutes
- Thumbnail and metadata: 5 minutes
That is roughly 30 to 35 minutes end to end, which is why batching works so well: five videos in an afternoon is a normal output once the format is settled. For a 10-minute long-form video with a cleanup editor, expect the AI first cut to take care of the two hours of trimming you used to do and leave you 30 to 45 minutes of creative decisions.
Adobe's own research claims nearly nine in ten creators say AI tools accelerate the growth of their business or audience. Treat vendor survey numbers with appropriate suspicion, but the direction matches reality: the constraint on channel growth has shifted from editing hours to idea quality. Which is the real argument for using an AI editor at all. Not that it edits better than you, but that it buys back the hours you were spending on work nobody watches you do.
If you are starting from text rather than footage, that is the workflow Cliptalk was built for, and you can produce a first captioned, voiced, B-rolled video before you finish deciding which traditional editor to learn.
Tags: ai video editing, youtube production, video automation, shorts creation, content creation tools