How to Make Reels From Scratch Without Filming
· 11 min read
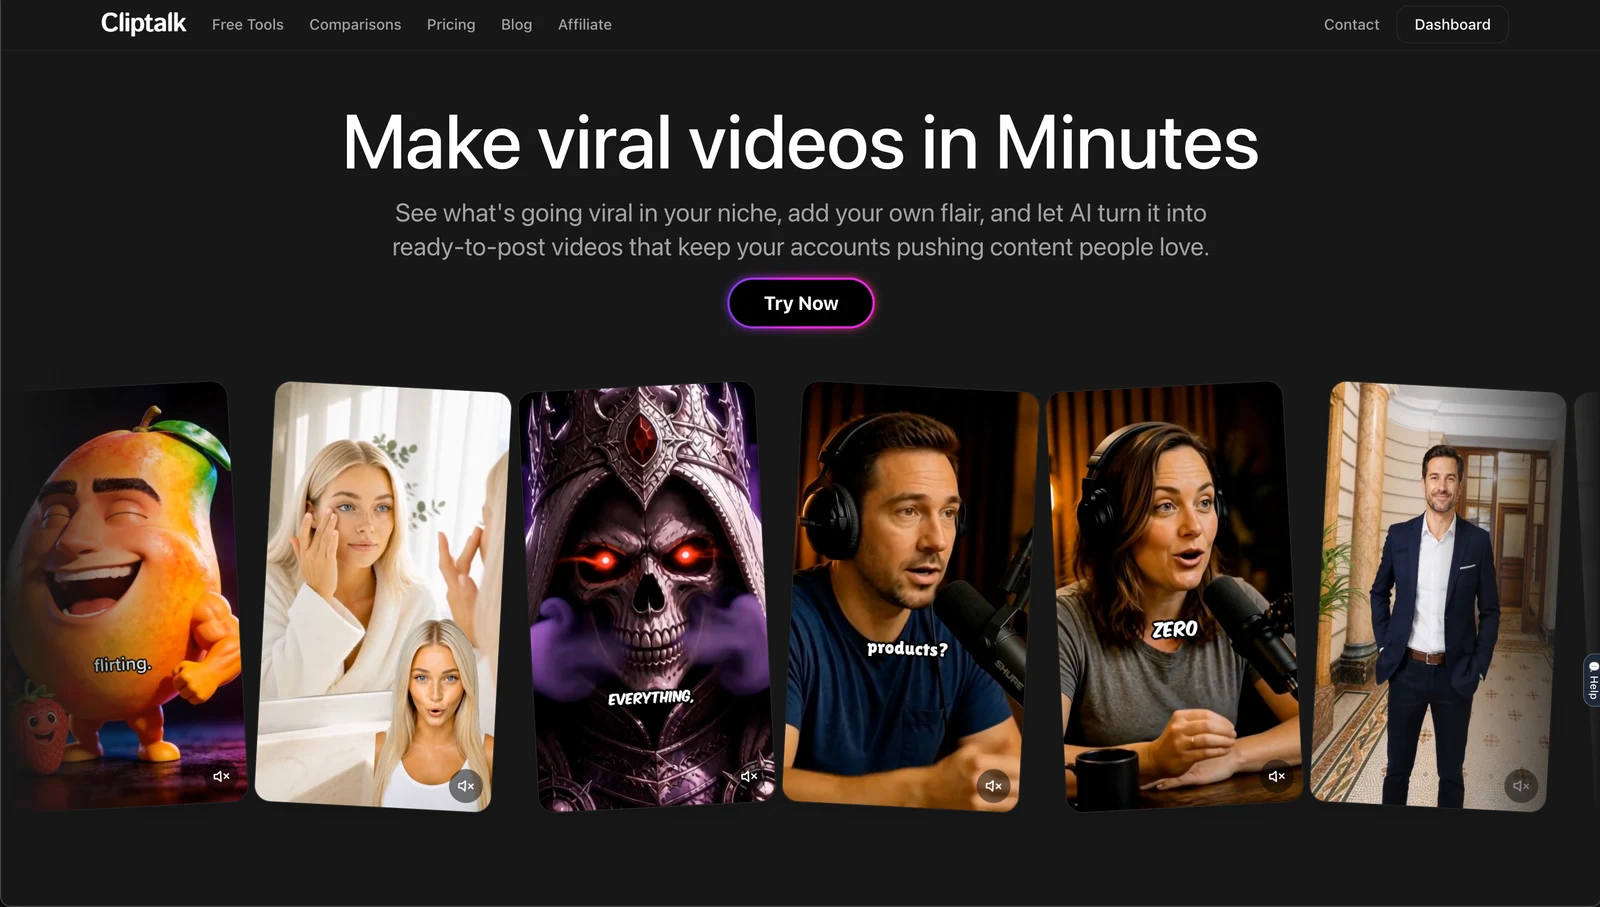
Making reels without ever picking up a camera comes down to four ingredients: a tight script, a voice, moving visuals, and burned-in captions. Assemble those in a vertical 9:16 frame and you have a publishable Reel. The fastest way I have found to get all four in one pass is Cliptalk, because you can paste a prompt, a script, or even a whole article and it returns a finished short video with auto-captions, AI B-roll, and an AI voiceover already timed to the narration, so there is nothing to sync by hand. Below is the exact process I use, the decisions that actually affect performance, and the tools worth your time if you want to assemble the pieces yourself.
What "without filming" really means
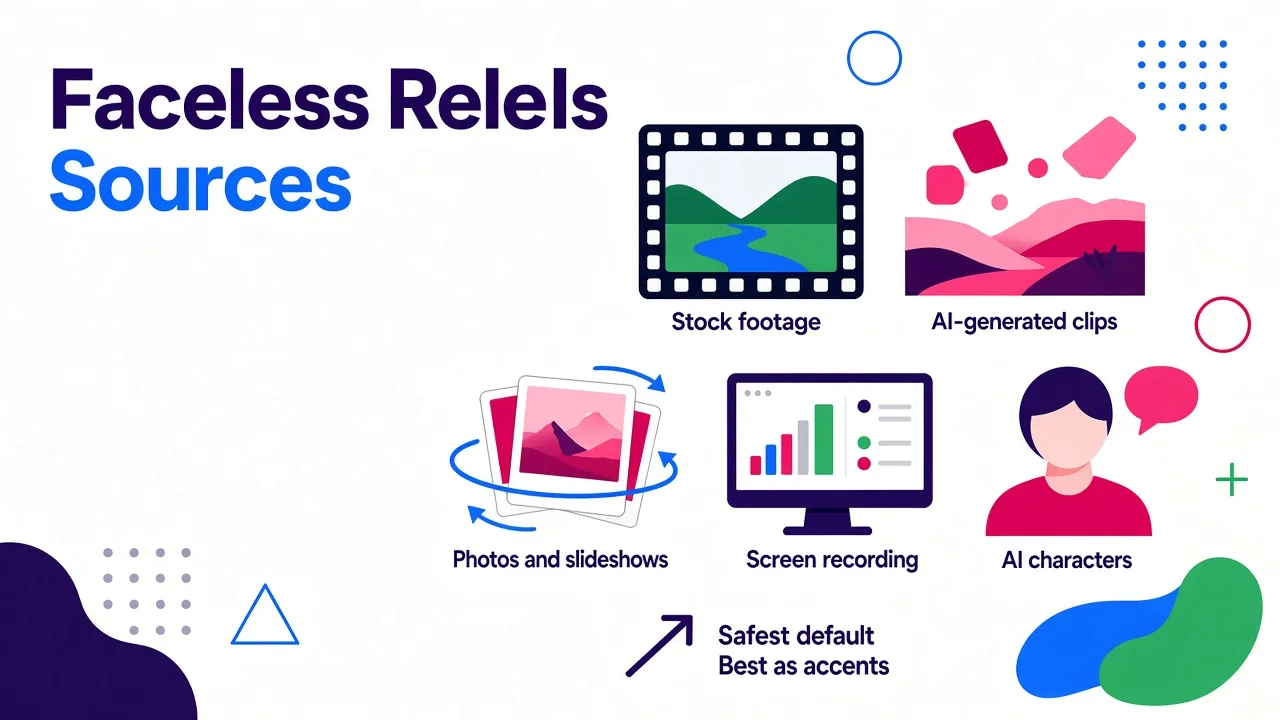
There is no magic here. Every faceless Reel you have scrolled past is built from some combination of five visual sources:
- Stock footage, pulled from a licensed library and cut to the narration
- AI-generated clips, produced from a text prompt or a still image
- Photos and slideshows, animated with pans, zooms, and beat-synced cuts
- Screen recordings, for anything software, finance, or tutorial related
- AI characters or avatars, which put a talking presenter on screen without a presenter
Everything else (voice, captions, music, pacing) is generated or automated. So the real work is not production. It is deciding what to say and how fast to say it. That is where most faceless channels win or lose, and it is why I spend more time on the script than on any other part of the process.
Step 1: Pick one idea, and give the Reel one job
A Reel that tries to cover three things covers none. Before I write a word, I write down two lines: the single idea, and the action I want from the viewer (save it, follow, click the link, comment a keyword).
The reason this matters more in 2026 than it did a few years back is that Instagram's ranking now leans harder on saves and shares than on likes. A like costs nothing. A save means the viewer expects to need this again. So "5 tips" videos, checklists, comparisons, and "here is the exact setting" videos outperform generic inspiration, because they are worth keeping.
Formats that reliably work without any filming:
- Listicles and rankings ("7 tools that replaced my editor")
- Myth-busting ("No, you do not need a ring light")
- Explainers on something confusing in your niche
- Story-driven case studies with stock visuals underneath
- Before and after breakdowns
- News and trend commentary in your category
Step 2: Write for the first 1.5 seconds, then for the next 20
The opening line is not an introduction. It is the whole gamble. I write the hook first, alone, and only then write the body.
Three hook patterns I keep reusing because they keep working:
- The contradiction: "Posting more actually shrank my reach. Here is why."
- The specific number: "I made 41 Reels last month without filming a single one."
- The direct callout: "If your Reels stall at 200 views, it is almost always this."
On length: Reels can technically run long, and the platform limit has crept upward over the years (you will see 90 seconds and 3 minutes quoted depending on when the page was written, so check what your app allows today). But the clips that actually perform tend to sit in the 7 to 30 second window. At a natural narration pace that is roughly 20 to 80 words. Write your script, read it aloud with a stopwatch, and cut until it fits.
Two script rules I hold to:
- One sentence per scene. If a sentence needs two visuals, it is two sentences.
- No throat-clearing. Delete "In this video," "Hey guys," and "Let's talk about." They cost you the only seconds that matter.
If you are starting from something you already wrote, this is where text-to-video tools earn their keep. I have run the same blog intro through several of them to compare scene selection and pacing, and the differences are large; my notes from that testing are in this comparison of text to video AI generators if you want the shortlist.
Step 3: Choose your visual approach
This is the decision that defines the look of your channel, so pick one and stay consistent for at least 20 videos.
Stock B-roll is the safest default. It looks native, it renders instantly, and no one questions it. The risk is genericness: if your clips are the same drone shots everyone else uses, the video blends in. I counter this by favouring tight, odd, specific shots over pretty wide ones.
AI-generated clips are best when no stock footage exists for your idea (abstract concepts, impossible scenes, stylized sequences). Generative models like Runway's Gen-4 line and Kling produce genuinely cinematic output, and Kling in particular is strong at realistic motion from a single still photo. The tradeoff is time and cost per clip, plus the occasional unusable generation. I use AI clips as accents, not as the whole video.
Photos and slideshows are underrated. Tools like FlexClip are built around turning a set of images into a reel with kinetic text and transitions. For product content, recaps, and before/after posts, a beat-synced photo sequence often outperforms footage because every frame carries information.
AI characters put a face on screen without you being on camera. This works well for advice, explainer, and UGC-style ad content. The caution: a character reading a weak script is still a weak script.
Screen recording remains the highest-trust visual for anything you can demonstrate. It is technically "filming," but it takes no setup and no camera.
Step 4: Voice is where cheap Reels give themselves away
An obviously robotic voiceover kills retention faster than bad footage. Modern synthetic voices are good enough that most viewers cannot tell, but only if you do three things:
- Punctuate for breath. Commas and full stops control pacing. Long unpunctuated sentences are what make AI voices sound flat.
- Match voice to niche. A warm conversational voice for lifestyle, a crisper faster read for business and tech.
- Keep one voice across your channel. Recognition compounds. Switching voices every video resets it.
If you want the video to sound like you specifically, voice cloning is now the practical option. I record a short clean sample once, then every future Reel narrates in my own voice while I never open a microphone again. That single change did more for my comment sentiment than any visual upgrade.
Music sits underneath at roughly 15 to 25 percent of the voice volume. Loud enough to feel, quiet enough to disappear.
Step 5: Captions are not optional
The majority of Reels are watched on mute. Treat captions as the primary channel and audio as the bonus.
What I have landed on after a lot of testing:
- One to three words on screen at a time, word-by-word highlighting. Full sentences at Reel pace are unreadable.
- High contrast, usually white text with a hard shadow or stroke. Never rely on the footage staying dark.
- Centered, in the middle third. Instagram's UI covers the bottom with the caption and action buttons, and the top with the account bar. Anything you place there gets clipped.
- Large. If you cannot read it on a phone held at arm's length, it is too small.
Auto-caption accuracy varies a lot between tools. Veed has a reputation for being best in class on subtitle accuracy, and anything that generates the voiceover itself (rather than transcribing it after the fact) will be effectively perfect, because it already knows the words.
Step 6: Format, export, and the details people skip
- 9:16 vertical, natively. Not a landscape video cropped after the fact. If your tool offers an aspect ratio selector, set it before you build, not after, so scene framing is composed for vertical.
- 1080 x 1920 export, 30fps is fine, 60fps for fast motion.
- No watermark. Free tiers on several tools (InVideo and Veed among them) stamp exports, and a watermark reads as low effort.
- Safe margins. Keep nothing important in the top 15 percent or bottom 20 percent.
- Hook frame doubles as the cover. Whatever you use as the thumbnail should still make sense as a grid tile.
The tools I actually use, ranked for no-filming workflows
I have paid for most of these out of pocket. Here is where each one genuinely fits. Pricing moves, so treat the figures as a rough shape rather than gospel.
| Tool | Best for | Handles script to finished Reel? | Notes |
|---|---|---|---|
| Cliptalk | Prompt, script, or article to a fully edited vertical video | Yes, end to end | Auto-captions, AI B-roll, AI voiceover, voice cloning, and AI characters in one workflow. Best fit if you want the whole Reel produced in one pass |
| InVideo AI | Script-to-Reel with narration | Yes | Voiceover in 50+ languages, large stock library. Free tier is watermarked; paid from around $20/mo |
| Pictory | Repurposing articles and long videos | Yes | Script-to-video plus an aspect ratio selector for 9:16, auto subtitles |
| CapCut | Free hands-on editing with templates | No, you supply the content | Strong 9:16 template library, keyframe animation, stickers and effects |
| Veed | Captions and light browser editing | Partially | Excellent auto-subtitles; paid from around $12/mo |
| Runway | Cinematic AI B-roll clips | No, clip generation only | Gen-4 class quality, best used for accent shots |
| Kling AI | Realistic motion from a single photo | No, clip generation only | Strong physics, longer clip durations, daily free credits |
| Opus Clip / Klap / Vizard | Cutting long videos into clips | Only if you already have footage | Useless for from-scratch work, excellent for podcast and webinar repurposing |
| ElevenLabs | Standalone voiceover | No | Voice quality is the benchmark, but you still assemble the video elsewhere |
The honest summary: if you already have footage, a clipper or an editor is enough. If you are starting from a blank page, you want something that writes scenes, sources visuals, narrates, and captions in a single run, otherwise you are stitching four subscriptions together every time you post. I keep a longer breakdown of the no-cost options in this roundup of free reel editing apps.
A ten minute build, start to finish
This is the workflow I run most days. Total time from idea to export is usually under ten minutes.
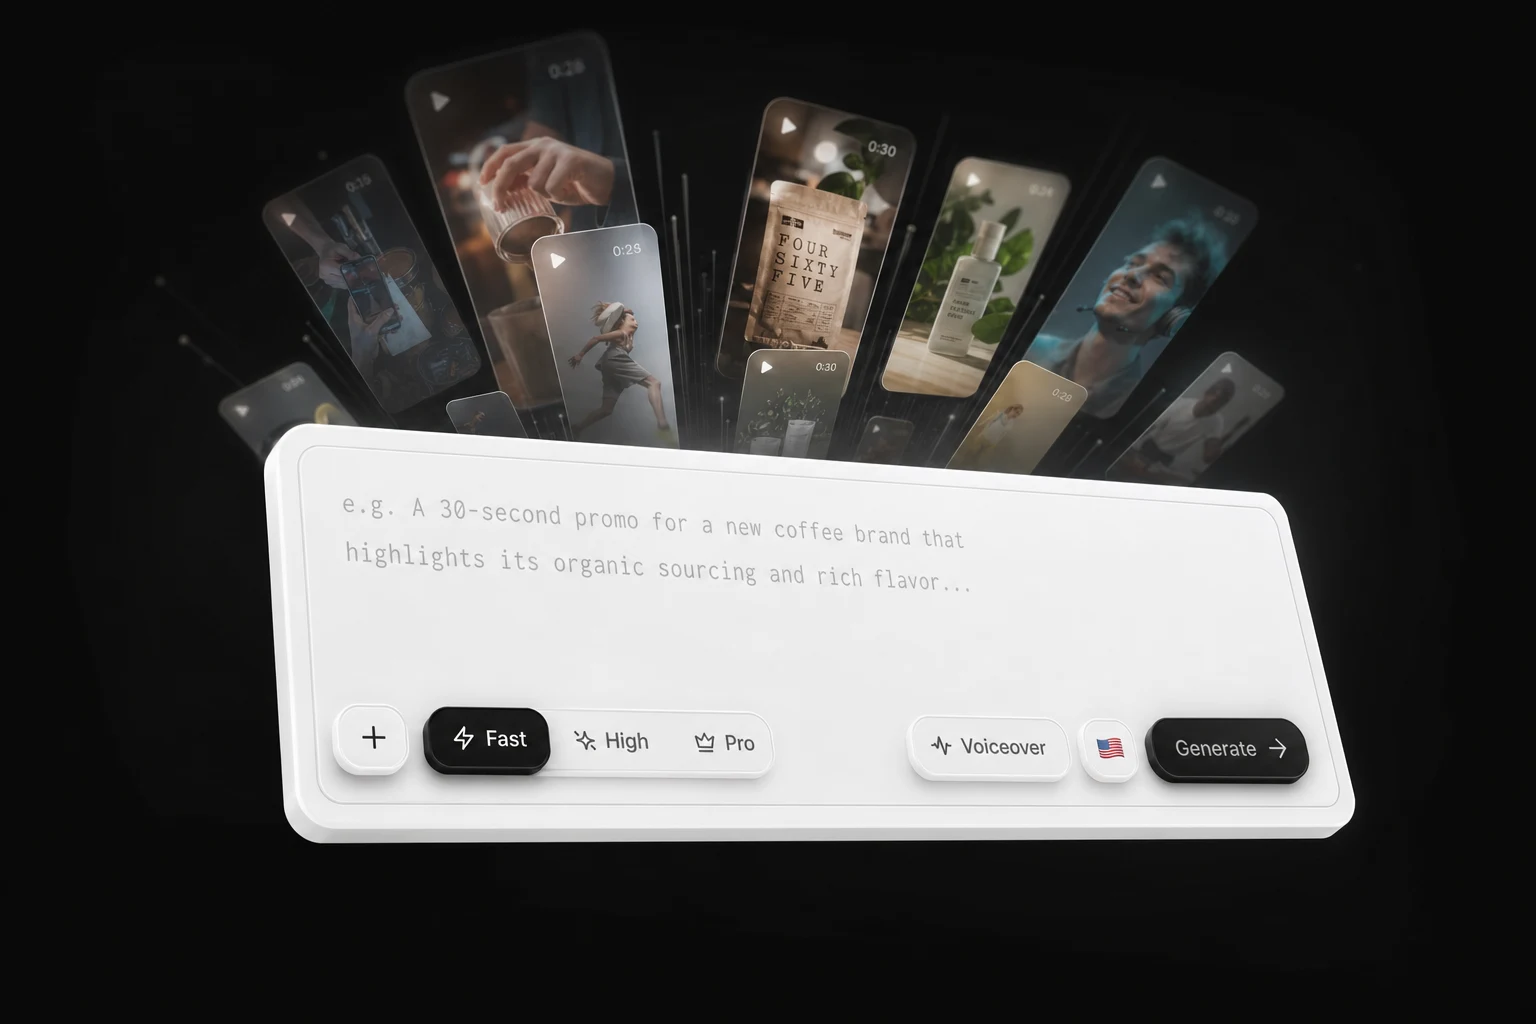
- Drop in the source. A one-line prompt, a written script, or a URL to an article I want to turn into a Reel.
- Set the format first. Vertical 9:16, target length under 30 seconds.
- Let it draft the scenes. The script gets split into scenes, each with its own visual and its own caption block.
- Fix the hook. This is the only part I rewrite manually, every time, without exception.
- Pick the voice. Same voice every video, or my cloned voice for anything personal.
- Swap two or three visuals. There are always a couple of clips that feel generic. Replacing them takes seconds and is the difference between "AI made this" and "someone made this."
- Check captions against the UI zones. Nothing in the bottom fifth.
- Export clean, no watermark, and post.
Step 6 is the one people skip, and it is the one that matters most. Automation gets you 90 percent of a Reel. The last 10 percent, where you replace the two clips that do not quite fit and sharpen the opening line, is what keeps the output from looking templated. Budget two minutes for it.
Five mistakes that flatten no-filming Reels
Scripts that explain instead of assert. Short form rewards confident claims. Save the caveats for the caption.
Footage that does not match the words. If the narration says "inbox" and the clip shows a beach, the viewer feels the mismatch even if they cannot name it. Literal matching beats aesthetic matching.
Too many scene changes. Cutting every 0.8 seconds looks frantic. One to two seconds per scene is the range I stay inside unless the pacing calls for a burst.
Ignoring the end. The last second should either loop back into the first (so the replay feels intentional) or ask for one specific action. Fading to black wastes it.
Publishing once a week. Volume is still the biggest lever in short form. Accounts posting five to seven times a week consistently beat accounts posting once, and the whole point of skipping filming is that daily output stops being a production problem.
How to tell whether it is working
Ignore likes for the first two weeks. Look at these instead:
- Retention at 3 seconds. If most viewers drop before then, the hook is the problem, not the video.
- Average watch percentage. Under 50 percent on a 20 second clip means the middle drags. Cut it shorter.
- Saves and shares. These now carry more ranking weight than likes, and they tell you whether the content had utility.
- Follows per view. The cleanest signal that your niche and your hook line up.
Publish ten Reels on a single theme before you judge anything. Short form is noisy at low volume, and one outlier tells you nothing.
The short version
To make Reels from scratch without filming: pick one idea, write a 20 to 80 word script with a hook you rewrote at least twice, pair each sentence with a literal visual, narrate it with a consistent voice, burn in large centered captions, export at 9:16 with no watermark, and post often enough to learn something. The assembly is the part you can hand to software. Cliptalk exists for exactly that handoff, but whatever you use, the script and the hook stay yours. That is where the results come from.
Tags: reel creation, ai video tools, short-form video, content creation, faceless videos, instagram reels